Bitcoin mining has evolved from enthusiast-level hobby to a sophisticated endeavor. For those seeking a niche within this realm, building a Bitcoin Nerd miner on a microcontroller presents a unique challenge and opportunity. This is a step-by-step guide to help you build a Bitcoin Nerd miner.
What is a Bitcoin Nerd Miner?
A Bitcoin Nerd miner is a small-scale, low-cost cryptocurrency mining rig designed for hobbyists and enthusiasts. It uses a microcontroller, such as an Arduino or Raspberry Pi, to manage the mining process.
Parts Needed to Build a Bitcoin Nerd Miner
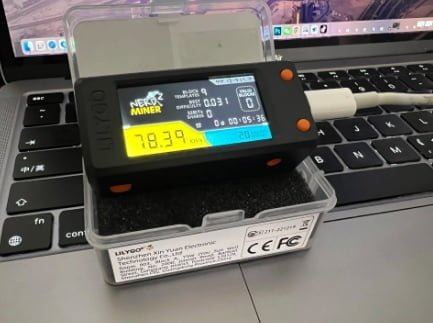
- ESP 32 microcontroller board. A LILYGO T-Display S3 is a good option
- Bitcoin mining software
- USB cable
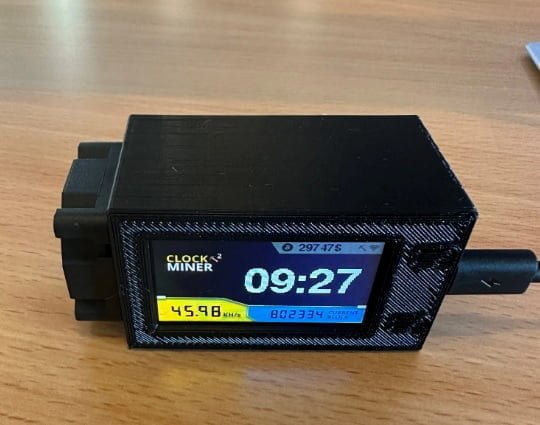
- Case to protect the microcontroller
Configuring the Bitcoin Nerd Miner
Step 1: Set up the microcontroller
Connect the microcontroller to your computer via USB and install the necessary drivers.
Step 2: Download the ESP32 Driver for your PC
Download and install the USB to ESP32 driver (if required). This driver will allow your computer to communicate with your ESP32 board using a USB cable.
Step 3: Flash the software
Use the Bitronics DIY Flasher website to flash the mining software to your ESP 32 board.
Step 4: Configure the mining hardware
After flashing, you will only need to setup your Wifi and BTC address. Go to your WIFI settings and connect to NerdMinerAP. Once connected type in http://192.168.4.1/ in a browser.
Wifi Accesspoint
- Connect to NerdMinerAP
- AP: NerdMinerAP
- PASS: MineYourCoins
- Set up your Wifi Network
- Add your BTC address Note: when BTC address of your selected wallet is not provided, mining will not be started.
- Change the password if needed
- If you are using public-pool.io and you want to set a custom name to your worker you can append a string with format .yourworkername to the address
Bitcoin Pool selection
Recommended low difficulty share pools:
| Pool URL | Port | Web URL | Status |
|---|---|---|---|
| public-pool.io | 21496 | https://web.public-pool.io | Open Source Solo Bitcoin Mining Pool supporting open source miners |
| pool.nerdminers.org | 3333 | https://nerdminers.org | The official Nerdminer pool site – Mantained by @golden-guy |
| pool.nerdminer.io | 3333 | https://nerdminer.io | Mantained by CHMEX |
| pool.pyblock.xyz | 3333 | https://pool.pyblock.xyz/ | Mantained by curly60e |
| pool.sethforprivacy.com | 3333 | https://pool.sethforprivacy.com/ | Mantained by @sethforprivacy – public-pool fork |
Other standard pools not compatible with low difficulty share:
| Pool URL | Port | Web URL |
|---|---|---|
| solo.ckpool.org | 3333 | https://solo.ckpool.org/ |
| btc.zsolo.bid | 6057 | https://zsolo.bid/en/btc-solo-mining-pool |
| eu.stratum.slushpool.com | 3333 | https://braiins.com/pool |
Bitcoin Nerd Miner Buttons
- One click > change screen.
- Double click > change screen orientation.
- Tripple click > turn the screen off and on again.
- Hold 5 seconds > reset the configurations and reboot your NerdMiner.
TOP BUTTON
- One click > change screen.
- Hold 5 seconds > top right button to reset the configurations and reboot your NerdMiner.
- Hold and power up > enter configuration mode and edit current config via Wifi. You could change your settings or verify them.
BOTTOM BUTTON
- One Click > turn the screen off and on again
- Double click > change orientation (default is USB-C to the right)
Conclusion
Using a microcontroller to Build a Bitcoin Nerd miner combines technical know-how with a passion for cryptocurrency exploration. By carefully selecting components and following configuration steps, enthusiasts can create a functional miner tailored to their specifications.
Transitioning into Future Prospects
As technology advances, keep abreast of updates in microcontroller capabilities and mining software. Embrace new opportunities to refine and expand your mining setup, ensuring continued relevance in the dynamic world of cryptocurrency mining.
