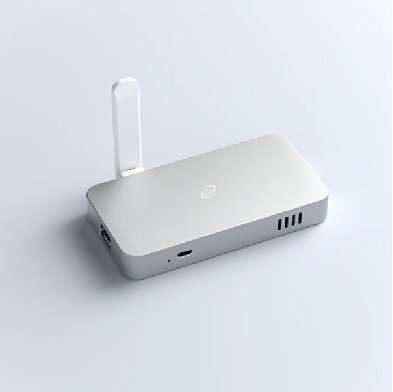
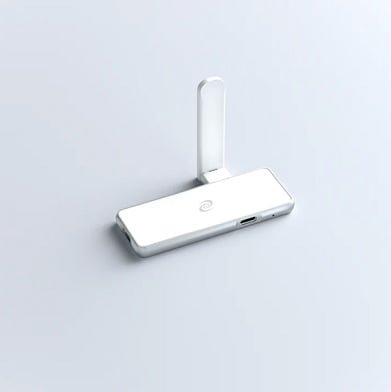
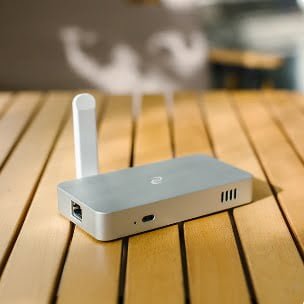
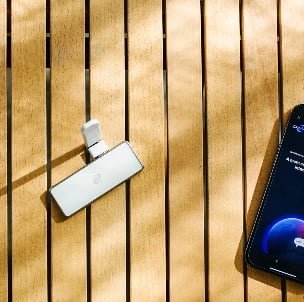
In this tutorial we will review the Deeper Connect DPN and its features. Deeper Connect offers a device that is a variant of a virtual private network (VPN). These devices enable one to create their own decentralized private network (DPN). Deeper Connect DPNs combine network security, peer to peer bandwidth sharing and blockchain technology to enable privacy on the internet.
What is the Deeper Network
The Deeper Connect device allows one to create a decentralized private network (DPN) in their home or office. The Deeper Connect decentralized private network (DPN) gives you all the security and flexibility of a traditional virtual private network (VPN) and more. It allows you to bypass geo-blocking, tunnel your connections through specific geographic regions, and do pretty much anything else for which you would use a VPN.
The Deeper Connect hardware device is a one-time purchase and offers more features than some traditional VPNs. The Deeper Connect device serves as both a client and server. Instead of routing your requests to a centralized VPN server, the system routes your internet requests through other members of the network. An advantage of this setup is user data can’t be logged, leaked, hacked or, subpoenaed.
Deeper Connect claims the following features
The Deeper Connect device serves as both a client and server that supports many different features. Its unique routing allows you to establish multiple tunnels in different geographic regions. Its smart routing function will choose the fastest tunnels available for your internet request. All of your online traffic is encrypted and combined with a seven-layer firewall for enterprise-grade security and privacy. It has built-in ad-blocking lets so you can enjoy browsing and streaming without annoying distractions. It can filter malware and trackers as it monitors your inbound traffic. There are no subscription fees and all of its features are free to you for life, for as long as you own the device.
In addition to privacy protections, the Deeper Connect devices offer high-speed access to content from all over the world. By changing your IP address, this device can bypass region-specific restrictions, which means you can enjoy websites that are not available in your region. In addition the Deeper Connect parental controls can ensure minors keep it clean online.
Lastly, the hardware’s plug and play setup allows you to secure your network in as little as a few simple setup steps.
Differences between Deeper Mini and Pico
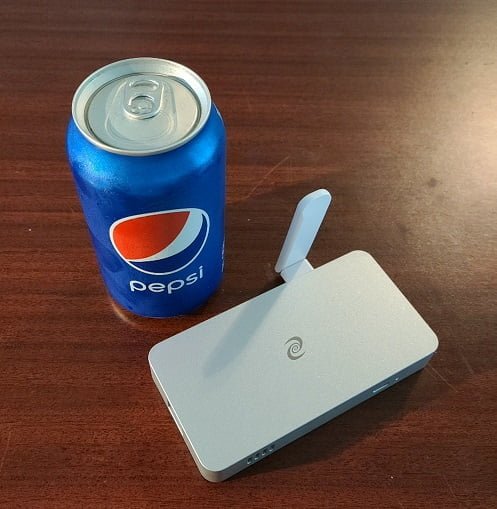
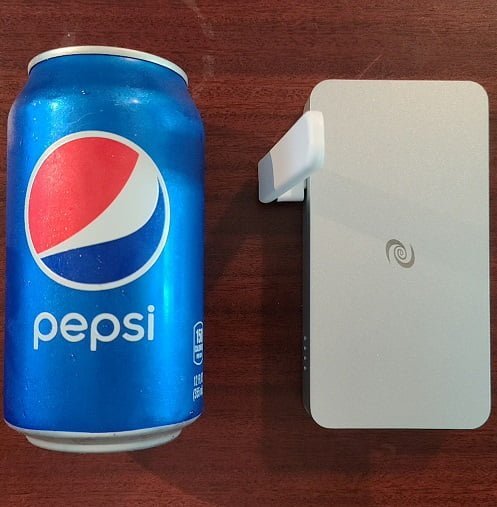
The company offers the Mini and Pico devices. The Mini is actually larger in size then the Pico. The Mini might be a nice addition to your home setup. It will give you the CPU and memory needed for multiple machines. The Pico is small and is a good companion for the individual user. Both devices are small enough to travel with. See the grid below for more information on size, speed, cpu, etc.
| Category | Deeper COnnect – Mini | Deeper COnnect – PICO |
|---|---|---|
| Weight | 172g | 50g |
| Dimensions | 13 × 6.7 × 2 cm | 8.6 × 3.2 × 0.7 cm |
| Speed | 1Gbps | 100Mbps |
| CPU | ARM64 4 cores | ARM64 4 cores |
| Memory | 2GB | 512 MB |
| Package Weight | 456 g | 245 g |
| Power Consumption | 10W | 1W |
How to setup a Deeper Connect device
In order to get started choose one of the configurations below based on your modem and router.
Virtual wire mode is for users with a separate modem and router. Simply connect the Deeper Connect device in between the modem and router using an Ethernet wire. Power on the device by plugging it into a wall outlet or power strip. Then after a few minutes the device will have booted up and will be functional.
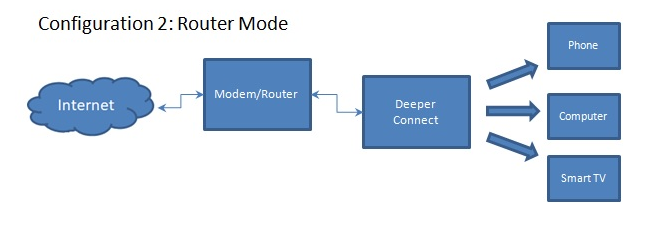
Router mode is for users with an integrated modem and router. This mode takes advantage of the Deeper Connects included Wi-Fi adapter. Simply connect the Deeper Connect device into the integrated modem and router. Then power on the Deeper Connect device with the included charger and connect phones, computers, TV, etc to the Deeper Connect devices Wi-Fi network.
Wireless relay mode is for users that wish to use a public Wi-Fi network or want to use the Deeper Connect while travelling. Power the Deeper Connect device on with the included charger and connect to the Deeper Connect Wi-Fi network with any device. From there access the AtomOS interface by entering 11.22.33.44 or 34.34.34.34 into a browser to specify what network you want the device to connect to.
Power on the Deeper Connect device
Once the device is powered on the small light on the side will stay on for 8-10 seconds followed by a series of quick flashes. After about 2-4 minutes the light flashes should slow down and you will be able to access the internet. Try to access Google or another webpage as a test. You can access the AtomOS interface for controls over the various features of the device by entering 11.22.33.44 or 34.34.34.34 into a web browser.
How to Configure a Deeper Connect Mini & Pico
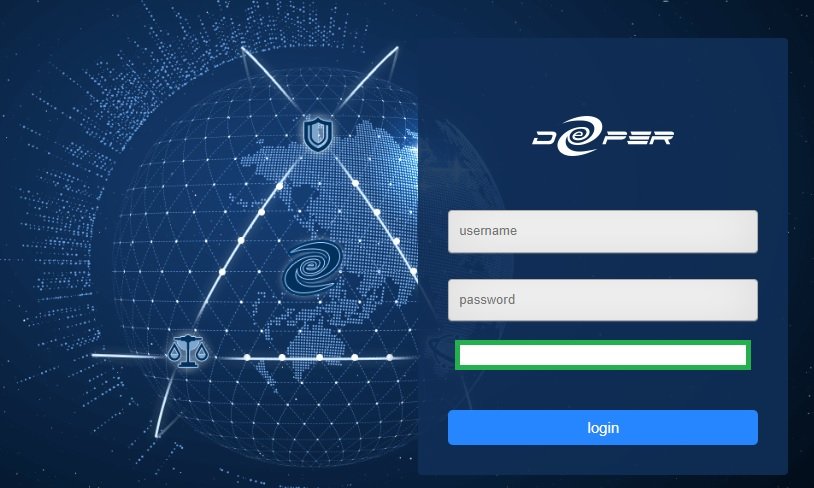
To configure the Deeper Connect Mini or Pico DPN log into the AtomOS interface. This interface is installed on the Deeper Connect device. Use the following credentials to log into the AtomOS interface:
- Enter 11.22.33.44 or 34.34.34.34 into a browser
- Default username: admin
- Default password: admin
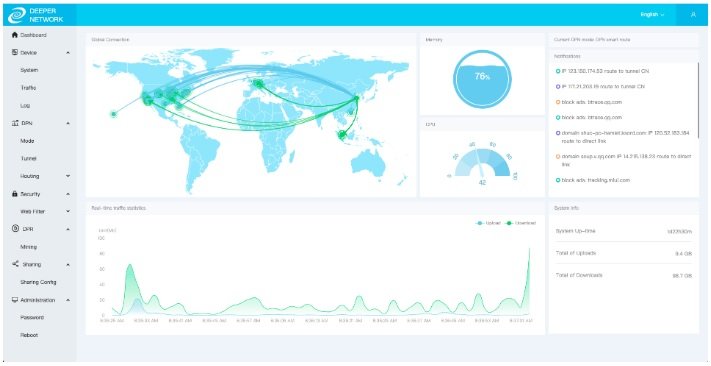
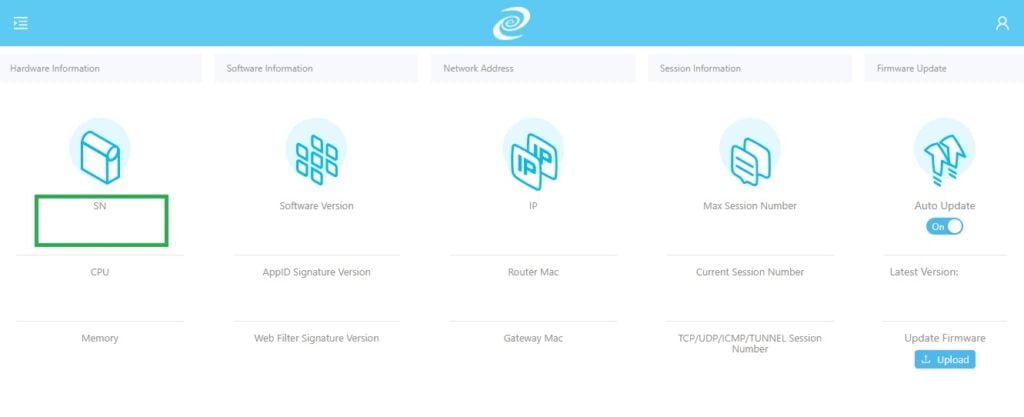
Once you login you will see the Deeper Network Dashboard.
Click on each of the menu items on the left side of the screen to become familiar with the programs options. Be sure to change your password. Make sure you read through the Deeper Connect user guide. It details how to get the most out of your Deeper Connect.
How to protect yourself when using Deeper Connect
Since your device acts as a client and server that shares bandwidth with other Deeper Connect users you need to protect yourself and your IP. If you share your bandwidth, users of the network use your IP to search the internet. Follow the steps below to protect yourself on the Deeper Connect Network. Prevent others from maliciously using your IP by configuring the following:
Bit Torrent
- Prevent others from downloading BitTorrents using your IP address. In the Sharing section of the control panel turn BitTorrent sharing off. Once this is turned off your IP can not be used to download BitTorrents.
Black List
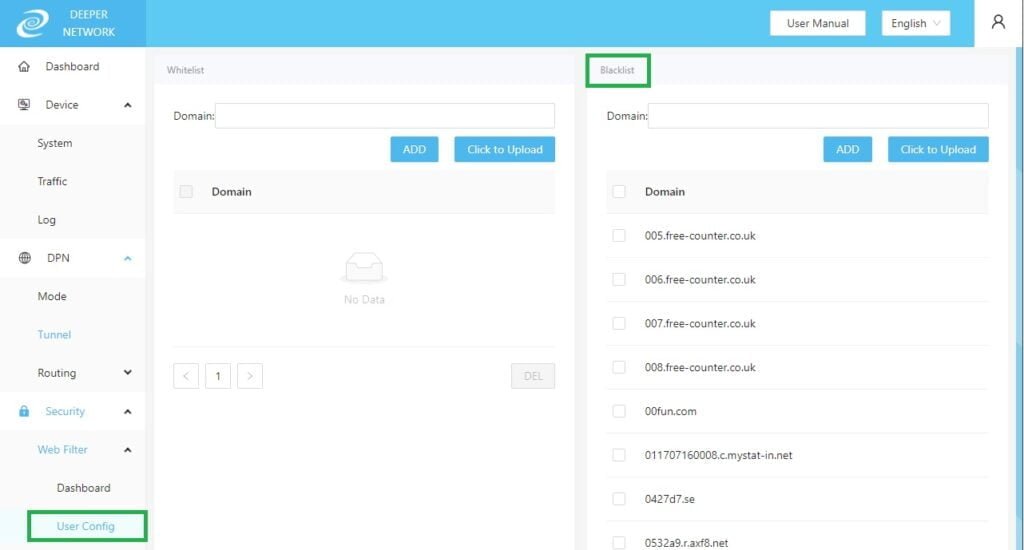
- Create a black list of websites that are not allowed to be visited with your IP address. In the Sharing section turn on “apply web filter rules”. The scroll up to the User Configuration section. On the right hand side of the screen you can create your own black list. This allows you to block specific domains. The black list supports wild cards “*” in the URL. To get started there is a black list in the Deeper Connect Discord server that you can upload into your device. Another black list can be found at https://github.com/hollabee/deeperblacklist. Note that there is a limit to how many domains can be blacklisted.
Log
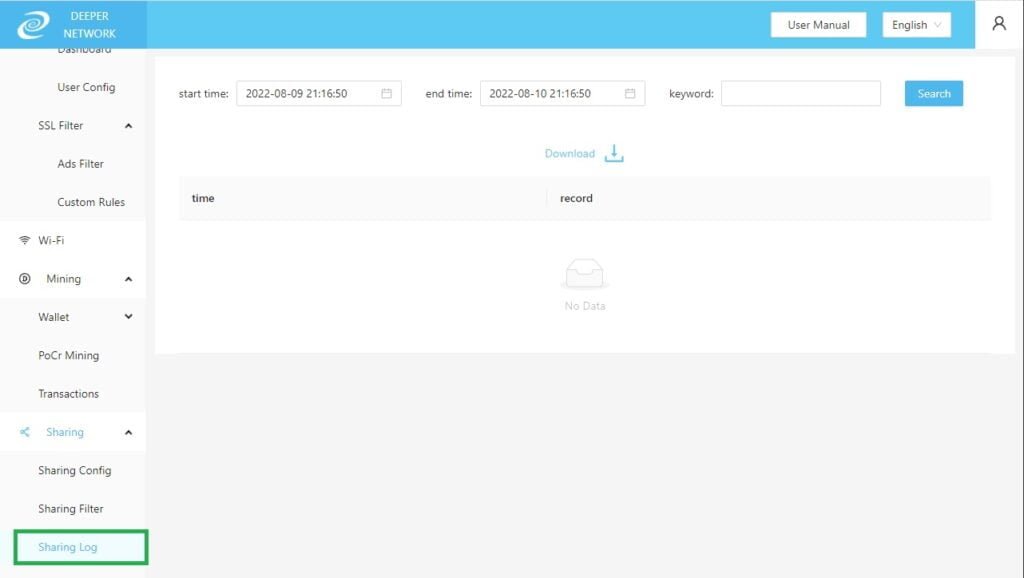
- Use your sharing log to determine how your device is being used by other members of the community. This log details partial IP information of others that used your machine to access different websites.
Turn Off Sharing
- Nevertheless if you do not want to share your bandwidth you can click on Sharing Configuration and turn off sharing. This will prevent you from sharing your bandwidth with others. When this feature is turned off you can still use the DPN without any issues. When you are not sharing you are not earning credits however you can still earn credits by consuming at least 100 megabytes of data a day. If you are only using the data consumption approach you will get one credit every two days.
How do I stake DPR token and earn rewards
To earn rewards on the Deeper Connect network you can register your device for mining. One needs to place their device on the Deeper Chain in order to start growing a credit score.
After your device is setup proceed to the staking registration page. One can stake on the Binance Smart Chain (BSC) or Ethereum blockchain.
- Binance Smart Chain staking registration site: https://device-bsc.deeper.network/
- Ethereum staking registration site: https://device.deeper.network/
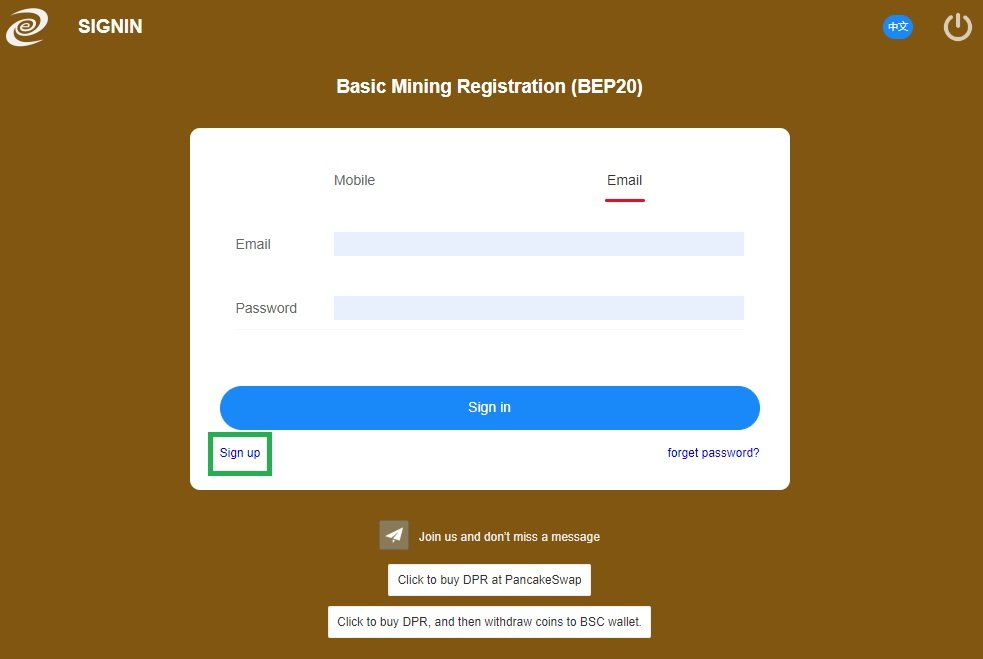
To begin the staking registration process click “sign up” at the bottom left hand corner of the window.
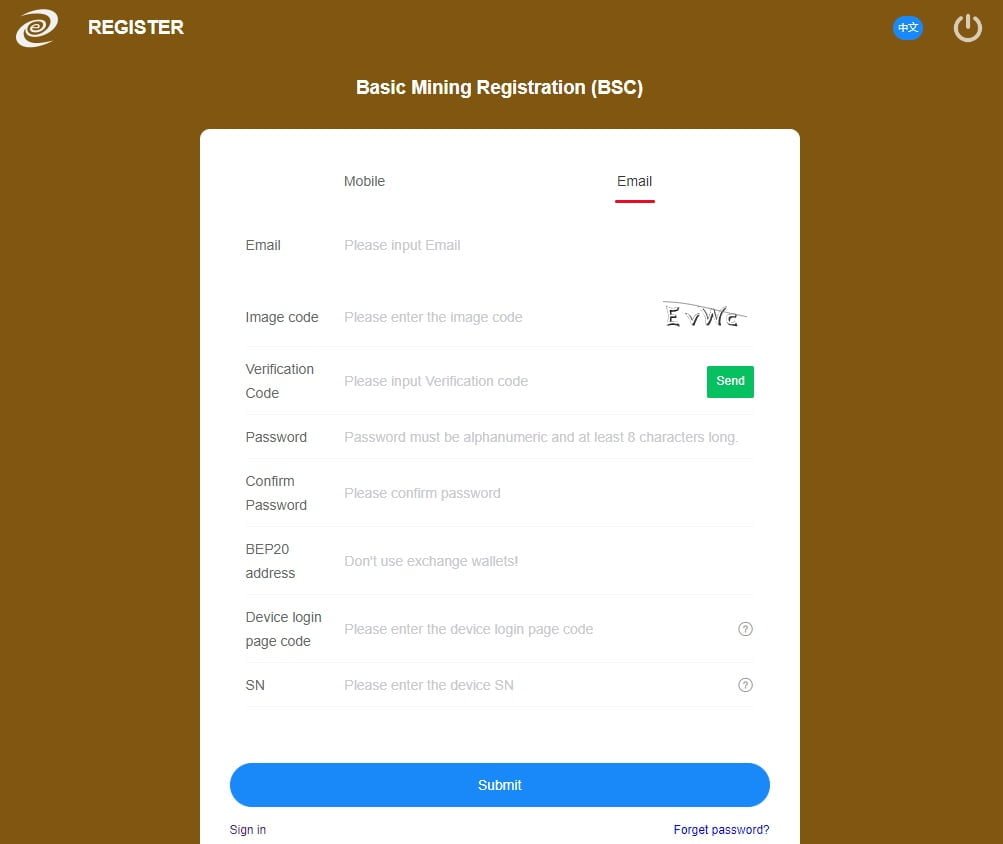
Complete the form to register for DPN staking.
- Mobile/Email – Users can choose to sign up either by mobile (phone number) or email address. Input your mobile phone number or email address to receive a 2 factor authentication code.
- Image Code – Enter the image code displayed on the screen.
- Verification Code – Press the send button to receive a 2 factor authentication code and key it into the field
- Password – Enter a password and confirm your password.
- BEP20 Address – Enter your BSC or Ethereum wallet address which contains your DPR tokens that you want to stake.
- Device Login Page Code – Input the device login page code. This code is located on the login screen of AtomOS below the password field.
- SN – Log into AtomOS, go to Device then System where you can find the device SN#. The SN is located in the hardware information section.
- After you submit all the required information to begin staking, on the next screen select a credit plan.
- In addition the screen includes a calculator that indicates the amount of DPR tokens required, APR and daily tokens earned.
- Finally press the stake button to finish the process.

